
(Originally posted on the Sixty blog)
In August, 2015 I built a Squarespace website together with my client via screen-share. We went from absolutely nothing to live online within 4 hours. If we used the traditional do-it-for-me approach, with revisions and email back-and-fourths, that same website would have taken 20–30+ hours over weeks.
At first I was terrified. I thought,
If I built every website like this, I’d make 5x less per site for the same quality of work.
Then I considered the weekly emails I received from people that needed their site launched this week, or for a budget of a few hundred dollars. These were the inquiries that most designers, including me, didn’t want to deal with. We would call them “unrealistic expectations.”
After designing together via screen-share, I learned that a quality site was possible within that time and budget.
So I went from building spending months on sites like MStreetNashville.com, to creating a marketplace called Sixty where Squarespace users can hire designers on-demand to work via screen-share.
We built dozens of websites in 4 hours last year. Here are a few of them:
www.faithshare.com
www.properformance.guru
www.commercialmortgageconnection.com
www.terrideskins.com
www.iamnataliejane.com
Today, I’m going to teach you how to work with any Squarespace Designer–through Sixty or not–to build a Squarespace website in 4 hours, for 1/5th of the traditional cost.
Sections:
- Intro to ScreenLancing — what it is & how it works
- Preparation — what to do and what not to do
- Session #1 — planning and scaffolding your website
- Homework — how to maximize time in-between your sessions
- Session #2 — filling your website with content & refining it with code
Intro to Screenlancing
Definition: A client and professional working together on a project via screen-share.

Philosophy
If hiring a freelancer or web agency is “do-it-for-me,” and using Squarespace on your own is “do-it-yourself,” screenlancing is “do-it-together.” It’s a hybrid methodology where you do as much on your own as possible, then summon an expert to a screen-share to help only with areas where their expertise is needed.
In relation to a website, screenlancing happens in the beginning (for high-level strategy and planning) and at the end (where the finishing touches include custom coding and design). The middle areas, like inserting copy, images, etc. are the easiest, so you should do as much of this on your own as possible.
Why it’s efficient
Most people don’t realize how fast using DIY tools like Squarespace really is. If you’re a professional using Squarespace 40+ hours a week, you can create nearly any design that same day. Most freelancing and consulting projects take weeks or months because of inefficient communication. Back-and-forth emails, revisions, stopping and starting on projects, and waiting in between designing all adds up. As a client, you’re paying for the inefficiency. Screenlancing allows you to work at the maximum pace that DIY tools like Squarespace allow. And they’re getting faster every year.
By watching a professional use the tool, you’ll also be able to determine which areas you truly need their help. This will reduce your dependency on them to the bare minimum, saving you more money down the road.
Finding a screenlancer
Generally, you want the most experienced person you can find. They’ll have a higher hourly rate, but you’ll make up for it in time saved.
Sources for Experienced Designers
Persuading them to screenlance
This is a hard part. Experienced freelancers have project minimums to avoid small-scope work. Even though you’re asking them to build a full website, they’ll still consider this “small-scope” since it’s under 20 hours.
Here’s an email template I recommend using:
“Hi,
I’m building my website on Squarespace and running into some trouble. I’m wondering if I can hire you for 4 hours (two 2-hour sessions) to work via screen-share with me on it.
I’ll pay you 1.25x your normal rate since you typically have higher project minimums. I’ll also pay you upfront, and promise to keep questions to our screen-share time rather than flood you with emails.
Please let me know if this works for you. My availability is [list three 2-hour windows].
Sincerely,
[your name]
Notice how I’m very direct regarding my situation, needs, and what I’d like from them. These 6 sentences could prevent them from reflexively archiving your email (like they typically would with small-scope requests).
Once you get the conversation started and have a date scheduled, tell them to look out in the next few days for an email with more details, files, a link to a screen-share session, and an invitation to your site.
Be concise when communicating and fulfill your promises that you made in the email. If the freelancer feels like you’re going to be hard to work with, they probably won’t work with you. If they’re apprehensive about the idea of efficiently working via screen-share, feel free to link them to this article.
Preparation
Do these four things so your designer can hit the ground running during your session:
- Fill out a Project Brief
- Organize Files
- Get screen-share setup
- Invite your designer to your website

Project Brief
This describes your situation and your goals in a 5-minute read. It has four sections:
- Situation — why you need a new website.
- Goals — what you want your website to accomplish.
- Inspiration — other Squarespace websites you’re fond of
- Sections & Features — a broad list of components and functionality you see your website having.
Here’s a project brief template for you to use, along with in-depth descriptions on each section.
Organize Files
A .zip file or cloud drive link of all files that are relevant to your project. If you have a lot of files, organizing them into subfolders will save you time (money) and score you lots of love from your designer. :)
Screen-share
I’d recommend using Zoom Video. We use it for our Sixty sessions. It’s simple, lets you record the session, and has a free tier. Other tools are Go-To-Meetingand Join.me. Anything works as long as you can share screens.
Inviting to Website
- Go to your Squarespace website’s admin panel
- Click ‘Settings’ > ‘Permissions’ > ‘Invite Contributor’
- Enter your designer’s name and email
- Under ‘Permissions’, select ‘Administrator’
- Click ‘Save’ to finish
If this isn’t clear, here’s a more detailed explanation of adding a contributorfrom Squarespace.
What Not to Do
If you’re a highly organized type A person, this is for your sanity.
Don’t over-prepare by perfecting text, photography, or your site’s architecture. The purpose of screenlancing is to offload this part of the planning process onto your designer (which is also why it’s important to have an experienced one). You’ll have time to get text, photos, graphics, etc. together in-between sessions when you have a better idea of how they will fit into the website. I’ll explain more about that below.
If you find yourself procrastinating about anything, make a list of your concerns and address them with your designer during your first session. A good designer has encountered (and overcome) every obstacle planning for a website. Together you’ll come up with a solution in minutes vs. the hours you’d spend on your own.
Session #1: Plan & Scaffold
It probably feels strange that you’re about to spend 2 hours on a video conference with someone you’ve never met. Don’t worry! This is how everyone feels at first. It will be awesome though, I promise 😁
Two important notes:
- While you want your designer to lead, you’re delegating control over the session. If you want them to explain what they’re doing (so you learn how to do it on your own) just ask. Conversely, if they’re explaining too much and you want them to focus on building, let them know.
- You can record your session. This is helpful for future maintenance. You can see how your designer did each task. Zoom lets you record out-of-the-box. I’m not sure about other screen-sharing apps.
Hour 1: Plan
Your plan is your blueprint. It defines how and what your website will communicate.

To start, review your project brief with your designer. They’ll ask you questions and start taking notes. Together, you’ll develop a cohesive list of “ingredients and instructions” for what needs to be built.
You’ll reference this list in-between sessions while writing your website text. If you’re particular about imagery, you may want to allocate time in-between sessions for that as well. If so, ask your designer to mark the sections you’ll need to find images for.
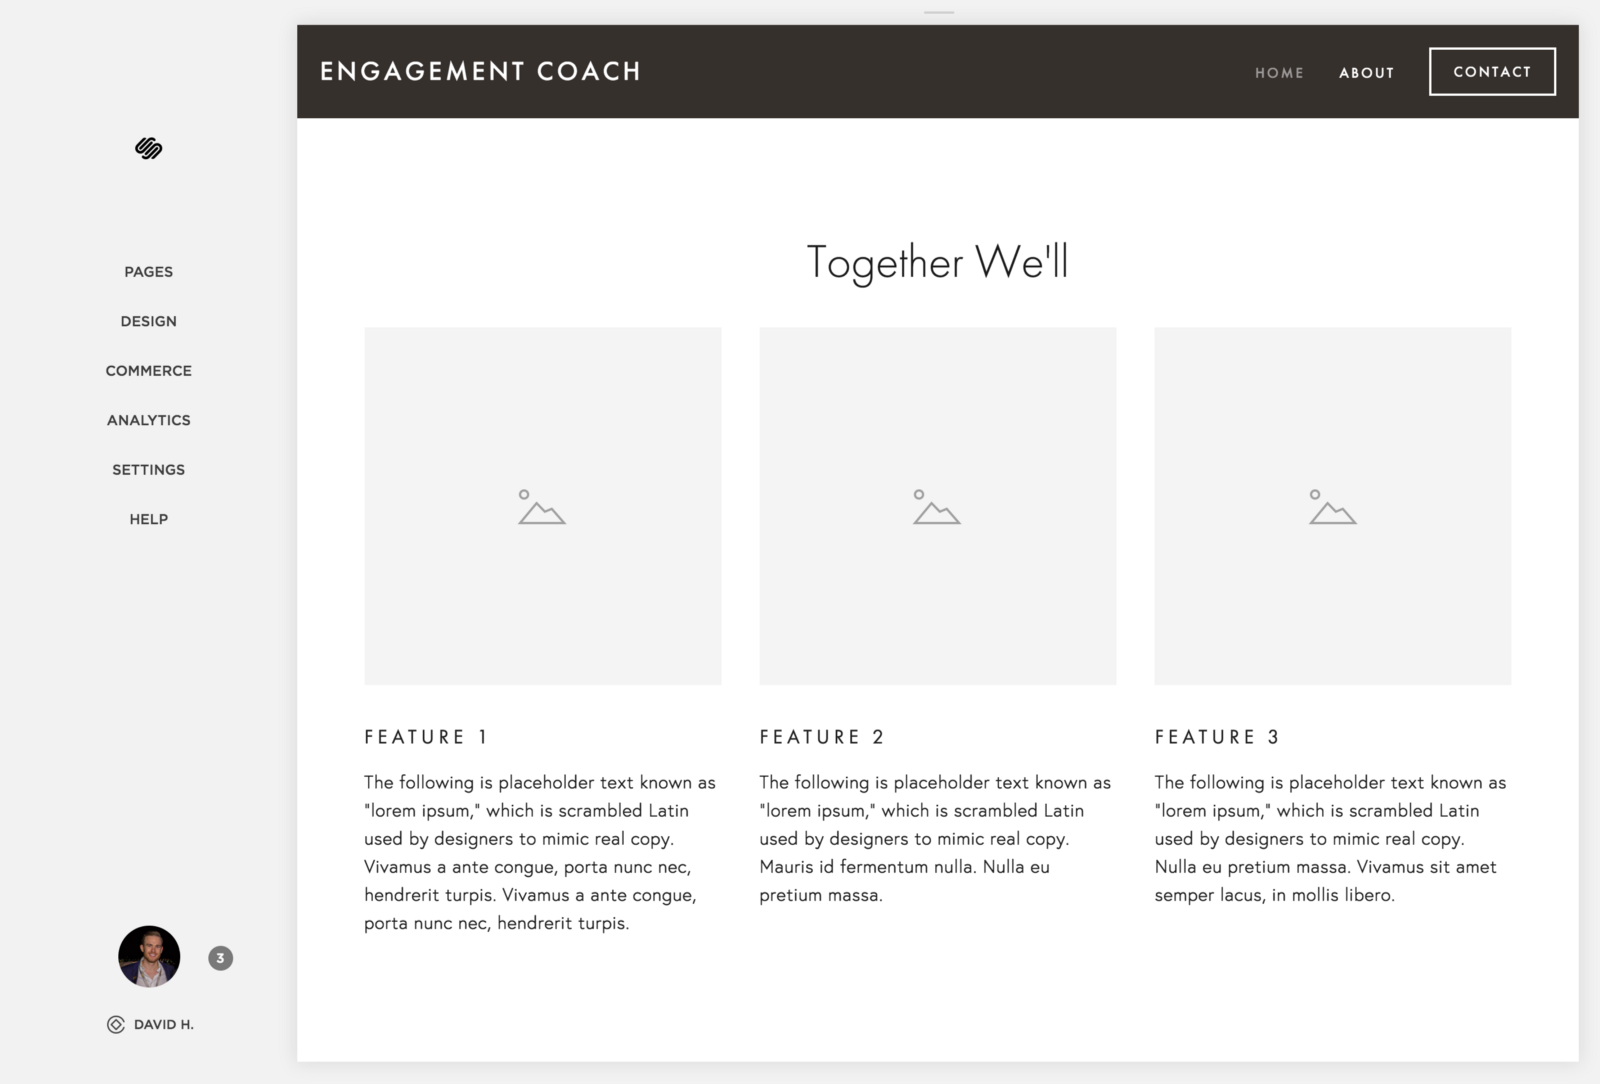
Hour 2: Scaffold
The scaffold is the foundation of your website. It’s your pages linked together with placeholder text, graphics, and images in each section.
Your site scaffold serves two purposes:
- Confirmation — will your final product accomplish your goals, as laid out in your plan?
- Preview — see how the website displays text and images before you gather them.
First, you’ll choose a template. Assuming you picked an experienced designer, they’ll help choose a template that can be molded to look like your ‘inspiration’ sites.
Next, you’ll create pages to represent each of the sections within your plan. Before your session’s over, your site should look like like a house that has yet to be painted or have the doors and windows installed. Notice that there’s nothing that will live in the site permanently at this point–just filler text and placeholder imagery.
Your designer will give you ‘homework’ to do before your next session–writing text, researching images and graphics, etc. It’s often helpful for your designer to create “mock headlines” on the site for you to use as reference while writing the text.
Homework
Your goal: prepare everything so that your site is launchable after your second session.
Here’s an explanation of what is included in each section and how you should approach it.
Writing Text
You should have areas of your plan that your designer highlighted for you to fill in. This includes Title text, headlines, body text, etc.
When writing, put yourself in your visitor’s shoes. Why did they come to your site? Write concise text to inform and help your website visitors make decisions. I can’t stress concise enough. The human attention span online is 8 seconds now.
Gathering Images and Graphics
These are for banners, features sections, and maybe headshots for the ‘About’ page.
For image files (.png, .jpg), find the highest resolution version. For graphics, try to find an .svg or .eps file. If you have a .png or .jpg, high resolution is the next best.
Situation-Specific Tasks
Stripe
If one of your homework items is to set up Stripe for accepting credit card payments, you’ll want to follow this guide from Squarespace.
Ecommerce spreadsheet
Here’s a template from Squarespace. You can upload this directly to your ecommerce store. For detailed instructions, see Squarespace’s instructions.
Session #2: Fill & Refine
Hour 1: Fill
Input images, graphics, and text, as well as connect 3rd-party tools.
Your goal during this first hour is to input all of the content that you created for homework, then work together with your designer to choose the images and graphics. Following this, you’ll connect any tools you need, like Google Sheets or Mailchimp.
To start, copy-and-paste all of your text. Your designer will likely suggest copy-edits like trimming down a headline, or refining for consistency. Unless you want to budget more time to working on text, try to refrain from thinking too much about it during the session.
Take note of how your designer uses Squarespace to add the text. Ask questions if you’re confused. Knowing how to use H1s, the de-formatting tool, quote blocks, etc. is valuable to reduce your dependency on a professional designer in the future.
Once text is inputted, begin searching for stock images and graphics (assuming they’re relevant to your project). Your designer will know the best places to look, and how to choose images and graphics that will look good together. Follow their lead. It’s easy to find a group of impressive images, only to realize that they’re different stylistically, and therefore make your site look amateur.
A note on SEO
Squarespace comes optimized for search engines out-of-the-box. Assuming your designer sets up the site correctly and doesn’t leave anything out, the SEO automatically gets taken care of. If you want to take to the next level, we wrote a short guide on Squarespace SEO.
Integrations

Now you’ll connect social media accounts, software like Mailchimp for newsletters, sync Google Sheets, and any other tasks involving 3rd party tools.
In this stage, there will probably be time where your designer “goes in the zone.” The session may not be as collaborative at this point, but it’s still important that you’re present to answer any questions. You’ll also want to give feedback during the next stage, which is styling.
Hour 2: Refine
The finishing touches.
Now’s the time to add the polish that takes your website from just a website to your digital home. Here, you’re dealing with branding elements like typography and color palettes. You’re also dealing with code-level customizations.
Typography
Typography conveys your brand’s voice and emotion. If you’re interested in learning more about this, Smashing Magazine wrote a great post on how to choose fonts. Otherwise, this is an area where 15 minutes experimenting with your designer can nail exactly what you’re looking for.
Colors
Color can be a black hole that sucks away much of your time if you’re design-inclined and perfectionistic. Here’s a resource on choosing colors for your website if you want to educate yourself on what is happening. 15 minutes here should get you a base color palate.
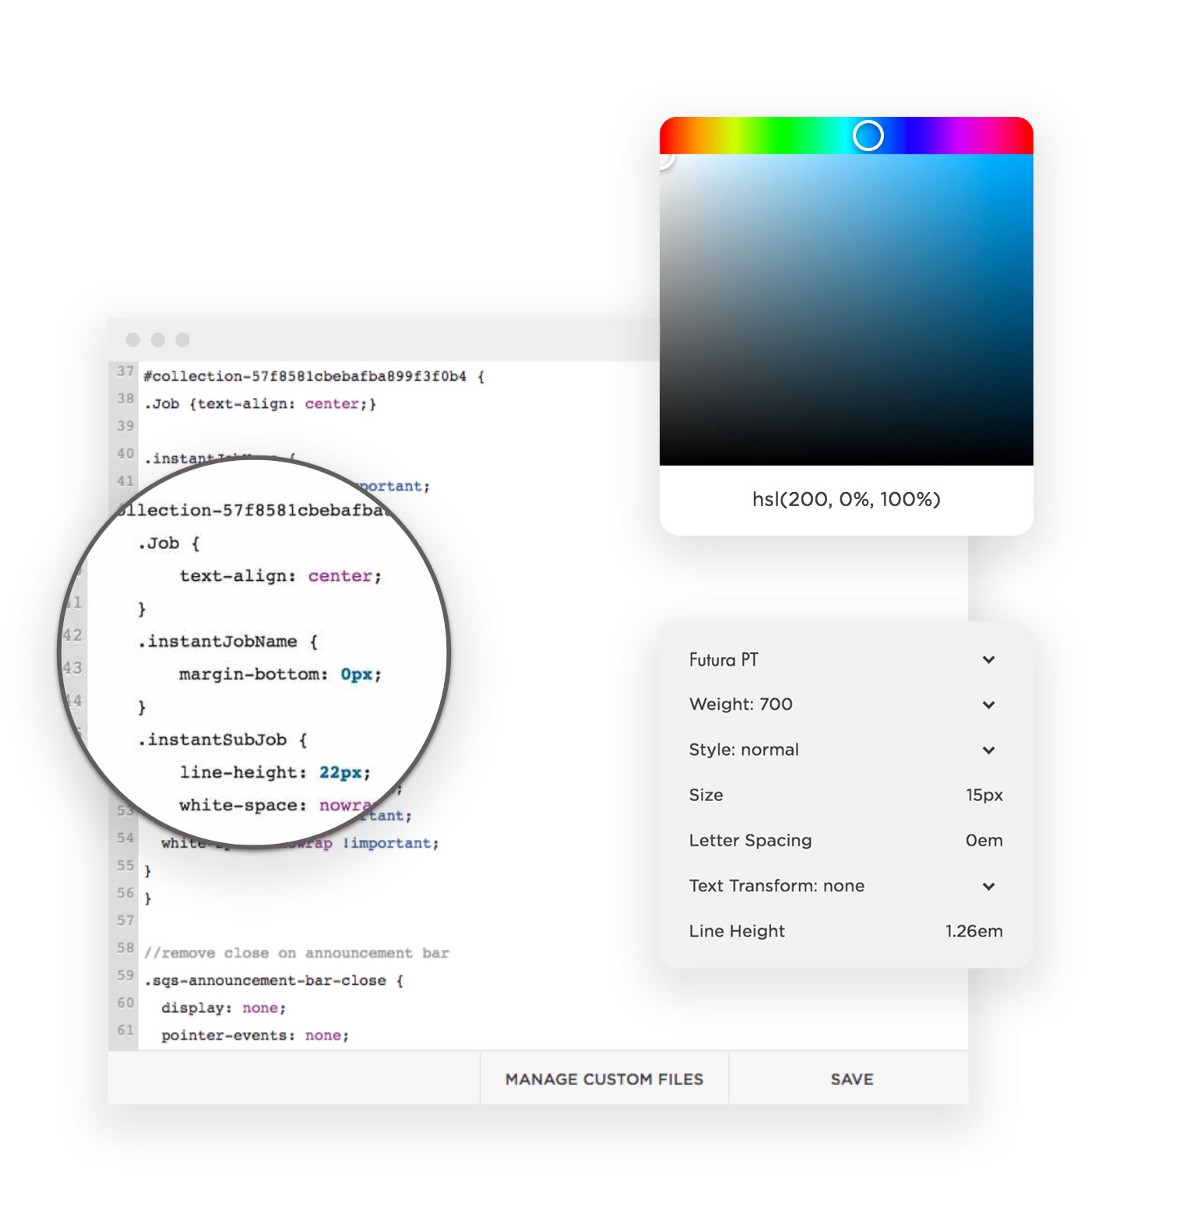
Custom CSS
Every website owner has a few pieces they want to customize. Squarespace templates look beautiful by themselves, but to make them look exactly like you want, you’ll almost always need to insert some amount of code.
While coding, your designer will likely have short bursts of “going in the zone” again. It may be good to have some other work you can multitask with while your designer codes. It’s important that you’re available for quick feedback when they do finish a portion though. I wouldn’t recommend asking them to work offline unless the task will take longer than an hour without requiring your input.
Go Live!
Once the site meets your standards, your designer will take 5–10 minutes to give it a quick pass to check settings. Then you can connect your domain and go live!
My goal is to empower individuals to create online
I constantly meet people yearning to be creative. They’re stuck in jobs they don’t like. They’re dreaming about how amazing it would be to have the freedom to create. I’ve seen the other side as an entrepreneur. I want to enable everyone to live this way.
If you’ve been struggling on Squarespace, haven’t had the time to learn it on your own, and haven’t had the budget to pay for a traditional freelancer, I hope this article brings you closer to accomplishing your goals.
Please let me know if this post has helped you and where it could be improved in the comments below! I’ll iterate it based on your feedback.
Want to build your website with a screenlancer?
Get hand-matched with a Squarespace designer for free through Sixty.
We also have experts who can work with you for as few as 15 minutes on anything from custom code to high-level planning.
